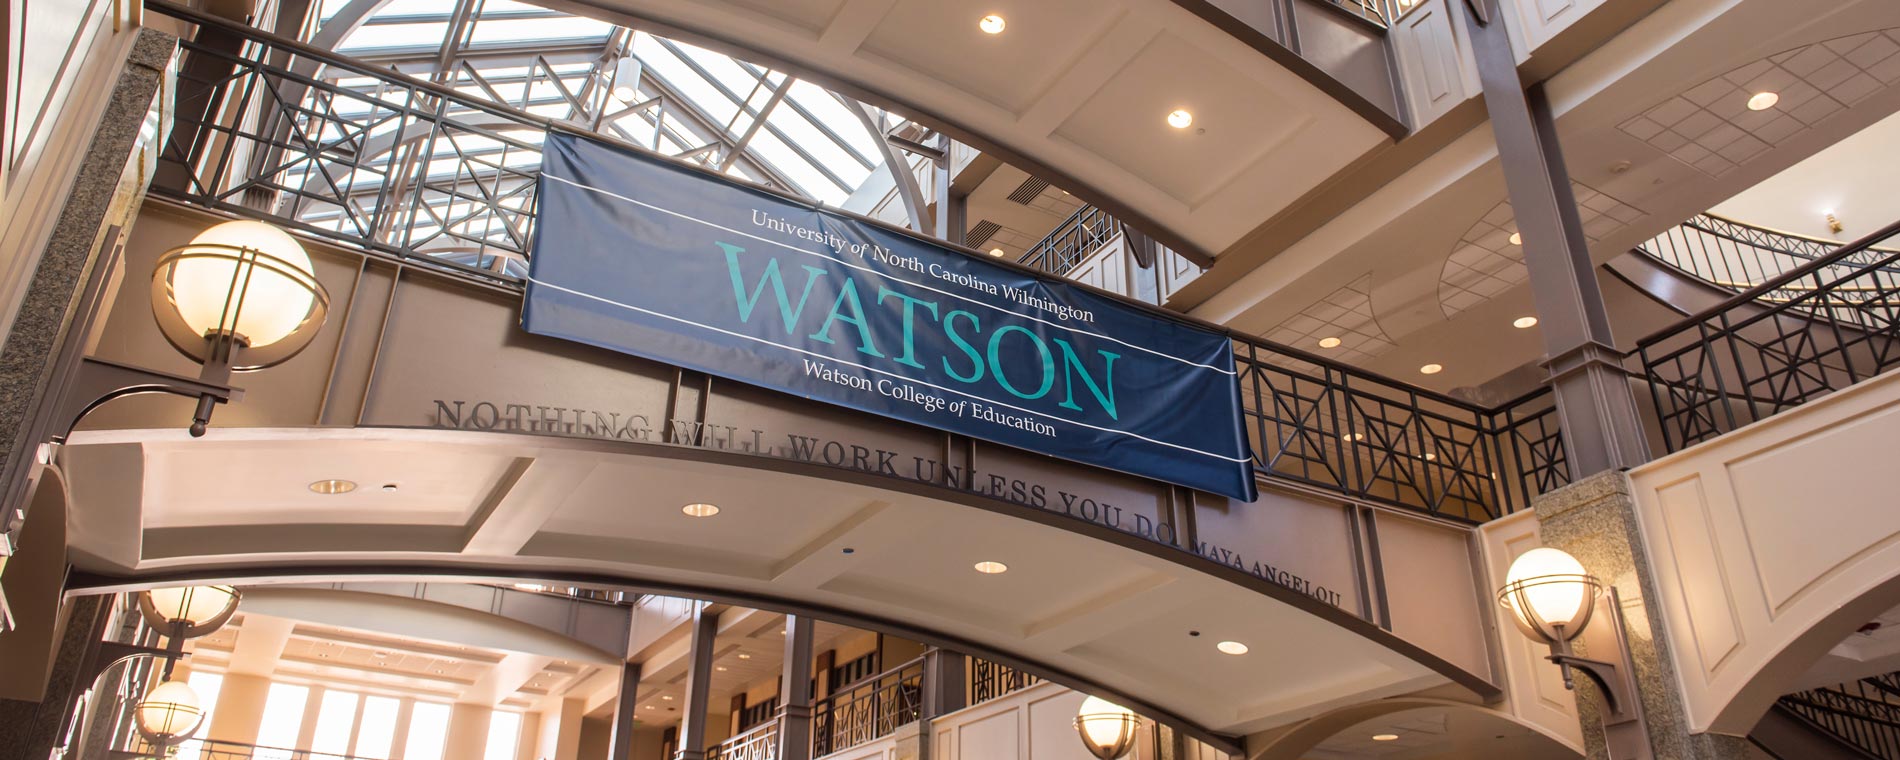
Image says UNC Wilmington and Watson School of Education-Video Enhanced Software Tutorials
| Return to Tutorials Home | UNCW Home Page |

TaskStream Tutorials
Title:
Creating a Lesson Plan

Topic: TaskStream - Create a Lesson Plan
Video: View Video of this Tutorial
Related Tutorials:
Attaching Standard to Lessons

Creating a Lesson Plan

Image of Title screen for beginning a new lesson1.Log into TaskStream
2.Click on Lesson Builder Link on the left of the screen.

3. Into the Lesson Title box, give your lesson a title, for example - "Practice Lesson".

image of the format screen4. Next from the pull down menu, select a format. Your professor will generally tell you what format you will be using, for the purpose of this tutorial we will use the "6 Point LP for UNCW". All lesson plans work the same, the different formats just have different categories. So once you have learned how to use one, you have learned how to use them all.

5. Click the yellow Create It button.

6. Take a minute to scroll down the lesson plan, you will notice that it is broken into several sections. Each section is highlighted by the gray bar - like Vital Information, Focus and Review (Establish Prior Knowledge), Statement (Inform) of Objectives, etc.

7. Notice the brown buttons on the left of the lesson plan. These brown buttons control what goes into the column on the left.

8. Find the "Summary" Image of the Summary Brown Button brown button, and click once on it.

summary box9. Into the window that appears type the text you want to appear in this section, in this case it would be a summary of the lesson.

After you are finished typing click once on the Save and Close Window button.

10. You will now see that your text has appeared in the column to the left of summary.

11. Scroll around and click on the other brown buttons on the left side of the lesson plan. You will notice that they all work the same way. A couple of exceptions to this are the Standards button, Subject button, and Grade Level button.

At the Top of your lesson are some yellow buttons.
Yellow Buttons at top of screen.

12. Save As/Copy - You do not have to save your lesson, it is automatically saved in TaskStream each time you type information into a box and click the save and close window button. This button will make a copy of your lesson.

13. Print View - Clicking this button will give you a printable version of your lesson. Use this button anytime you need to print your lessons.

14. E-mail - You can email your lesson to anyone in TaskStream, or anyone whose email address you know. They will receive a non-editable version of your lesson plan that looks like the printable version you get when you click the print view button.

15. Publish - This button will allow you to publish your lesson to the Cybary, where anyone in TaskStream can view it.

16. Request Feedback (Share with Reviewer) - Use this button to send your lesson plans to your professor. Simply click on the button, choose your professors name and click submit. (If this button is not highlighted, it is because you are not currently in a group that can submit feedback.)

Should you have trouble you can contact TaskStream at: 1800-311-5656.


| Tutorials Home | Watson School of Education | Web Accessibility |

All Clip Art images is property of Microsoft, Inc. All Screen Captures are property of TaskStrem. All Rights Reserved.